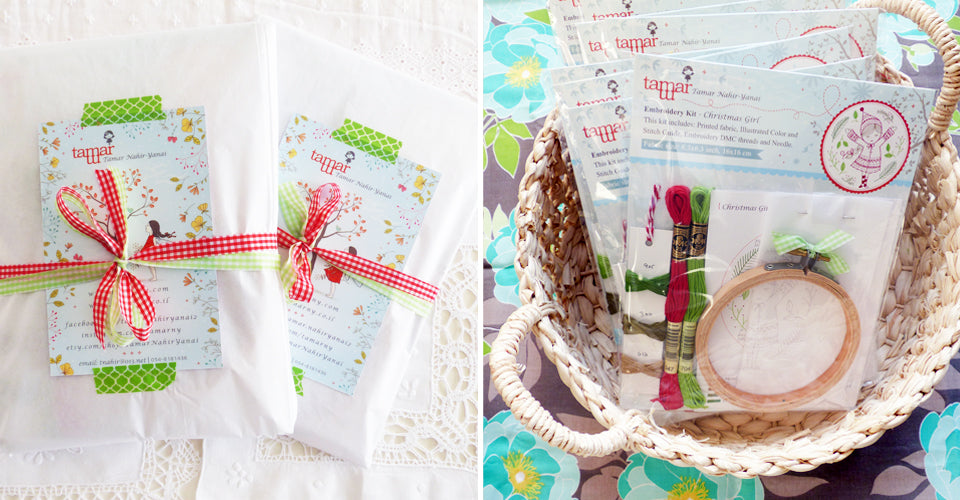
From Italy to the Loire Valley

July was exceptionally busy and exciting. Last week I was invited to host an embroidery workshop at the museum for Italian Jewry n Jerusalem. It is a magical, beautiful place – more than I could ever have imagined.

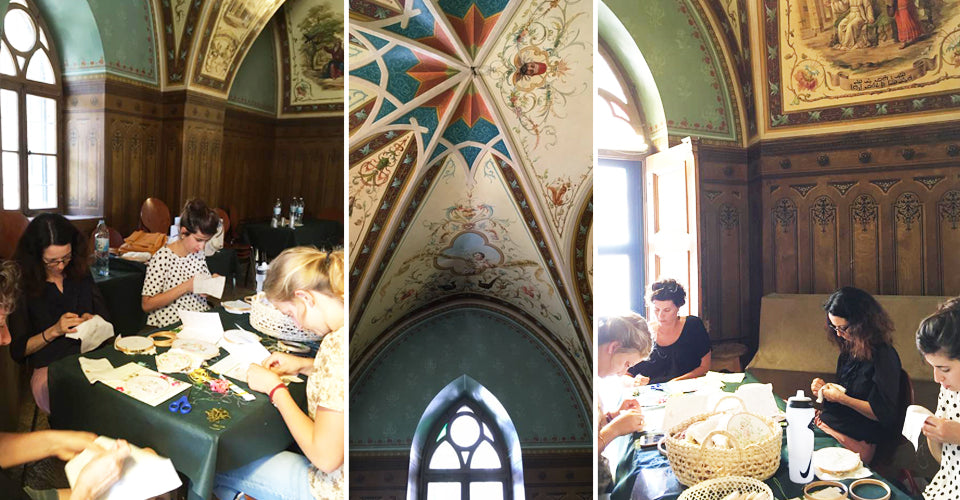
Ten of us met up at a breathtaking, decorated eighteenth century room. The space is impeccably preserved and preserved. My photographs cannot do justice with the joy of looking and taking in every last detail in the room.

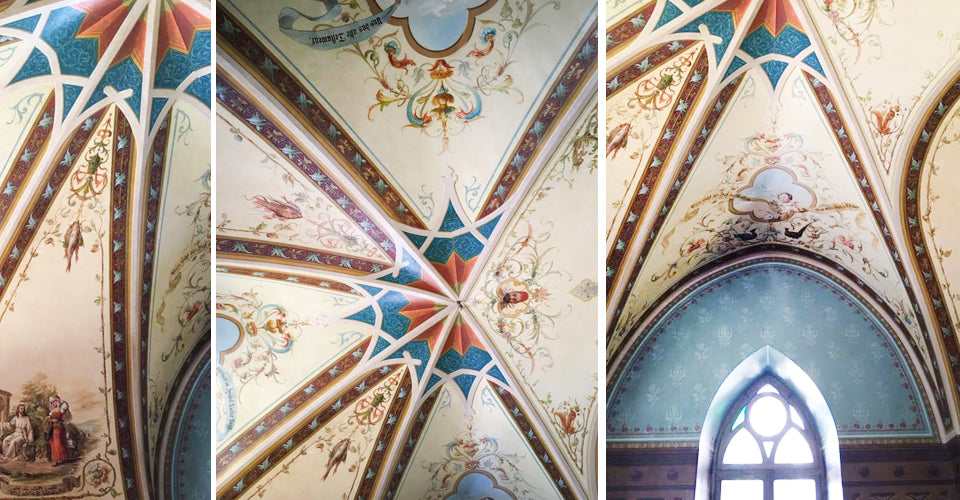
We started off with a fascinating tour that included in-depth explanations on each piece and technique. The upper floor shares the remnants of a Renaissance-era Venetian synagogue. We drank up mouthwatering details of ancient hand crafted works: gold leaf, printing, woodblock and my personal favorite – embroidery and lacework.

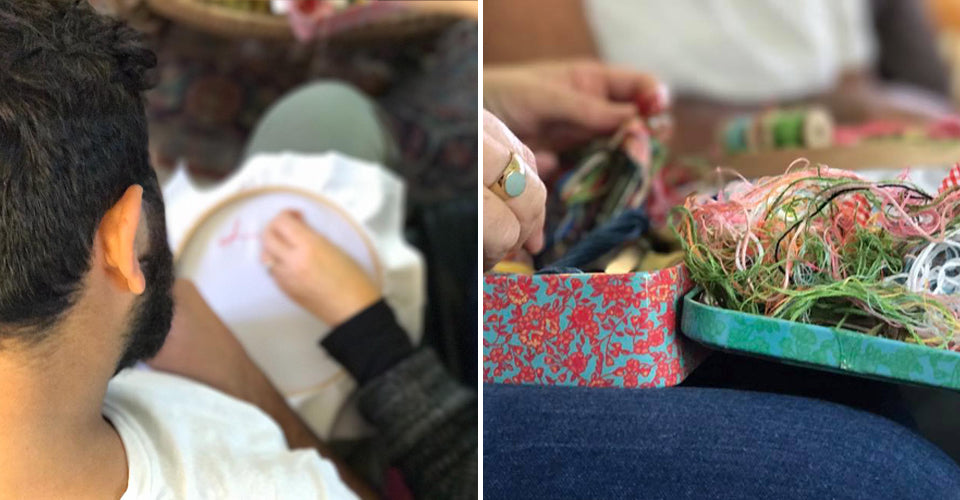
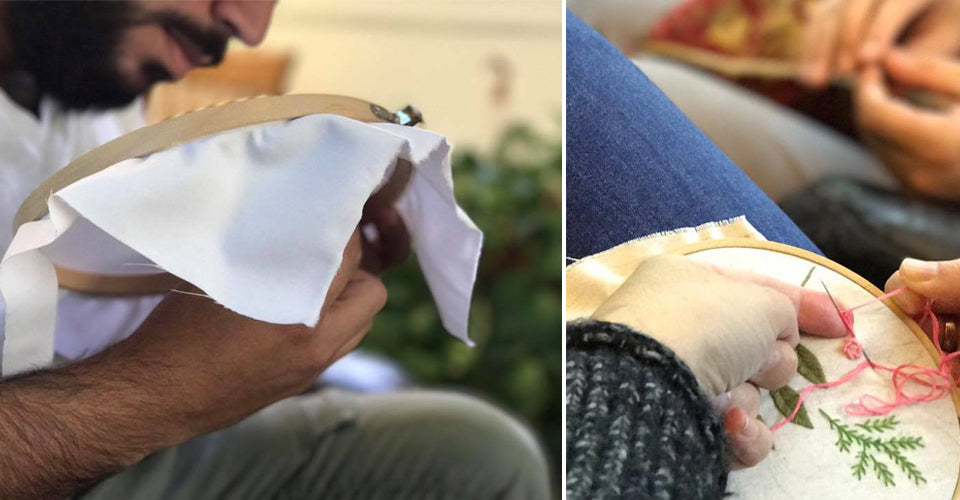
After the tour we reconvened at the decorated room to begin our embroidery workshop. We were alive with the magic and atmosphere that only a space like that can provide. I am always thrilled to meet new ladies who wish to learn about the world of embroidery, and couldn't have asked for a better setting to do so.


Two weeks ago, the most exciting thing happened! A feature interview on the Etsy blog, an incredible and unexpected honor! When I'm deep into my process, I hardly ever raise my eyes and look back on the road I travelled to get to where I am. The blog item allowed me to think back and evaluate my path, and for that I am incredibly grateful.

Etsy chose this sentence as teaser:"I make what I love—whatever feels right and makes me happy. So if I’m able to make others happy in the process, that’s incredible."  I think it really captures the essence of my work, my passion.

To read the full story about my process and the path I had taken, please click here.

July came with another exciting adventure. I was invited to participate in next summer's embroidery fare at the Loire Valley, France! After reading about the location and drooling over the photographs (not to mention desserts that only French cuisine can dream up!), I simply couldn't say no… There's a whole year of waiting ahead, but I'm already buzzing with excitement and curiosity at the adventure that awaits me.


August has come… A few days after writing this post, I said goodbye to my beloved cat, after 21 wonderful years together. It was a sad and difficult parting. Every morning I keep expecting her to come over; even though the brain knows she is no longer with me, the heart doesn't let go. We shared so many routines. She was my sidekick in every embroidery project, and appeared in countless illustrations. I suppose she will keep popping up in new works, just as she will always stay in my heart.

We felt the end was near, as early as April. But in her final days she couldn't eat or drink, and had gotten very weak. We took some photos together on the lawn for a final hug. Mocha seemed to enjoy those last few rays of sunshine. Beautiful, petite, kind hearted  ❤


SaveSaveSaveSaveSaveSaveSaveSaveSaveSave
August 08, 2017 by Tamar Nahir

Embroidering love letters

In nearly every workshop I hold, I get the same question: “when do you have time to embroider?” or “do you ever stop?”
Fact is, I love embroidery so much that I always carry it with me. It’s light and doesn’t take up much space. You’ll usually find me with my box of threads and a work in progress.

I mostly embroider on the weekend. When I’m at fun casual family events, I would usually be holding a needle before tea is even served. Luckily, they’re already used to it. I can easily talk and stitch at the same time :) . It’s a social hobby – at least I think it is –and I’m not bothering anyone…

Sometimes when I’m at my parents’ house my mom joins me. It’s addictive, and when we visit my in-laws, the sight of a thread and needle often motivate my mother in law to get her knitting out.

The happiest, and most surprising, embroidery-related family story has to do with Aviv, my husband’s nephew. He is a big, burly guy.
Before embarking on his post-army service trip to South America, he asked me to help him embroider something for his girlfriend.

I was over the moon! We started planning out the project together. We head a deadline, and enjoyed choosing colors and different stitches.

Aviv wanted to stitch a simple, but heartfelt phrase: “I will be back”...

Apart from sewing on a button, Aviv has never held a needle in his hand. Needless to say, it was his first time embroidering. As big and macho as he is, his work was so careful, precise, with every stitch in its exact place.

Whenever he misplaced a stitch, instead of giving up he just started over, like a pro. We got some odd looks (“a man stitching!”), but most people who saw us were excited and very supportive.

By the end of Hanukkah, just one week before his flight, Aviv finished his project. Needless to say, his gift was very happily received…

Aviv, have a fantastic trip! I hope you inspired some more guys to give embroidery a try

Happy stitching!
Tamar


SaveSaveSaveSaveSaveSaveSaveSaveSaveSaveSaveSaveSave
January 13, 2017 by Tamar Nahir

The only thing better than embroidery is an embroidery workshop!

Those of you who’ve been following me on FB and Instagram for a while know that apart from creating embroidery kits (and of course posters, notebooks, stamps  and all that good stuff), I also teach embroidery workshops.

Two weeks ago, I taught an advanced embroidery workshop at the home of one of my past students. It’s always fun to get together with others who are passionate about this art. I asked each participant to being a work in progress; knowing the ladies in question beforehand,
I knew we’d have a whole rainbow of styles. We were so caught up in our work, I didn’t even have time to get my camera out. Lucky for me, the lovely Keren took care of that.

Lital’s work:

There’s something really warm and comforting in holding a workshop at someone’s home


Our host Anya’s house is a hive of inspiration. She is an incredibly talented stitcher and knitter. We were all drooling over this adorable elephant, and she promised a knitting workshop soon.


Before learning new, advanced stitches, we stamped our fabrics. The idea was to practice new techniques and get a touch of the stamping fever while we’re at it. Some of our crafty ladies were so smitten with the stamped fabric, they decided to keep it and practice on a different piece (that’s what you get for dealing with talented perfectionists!).


Don’t let the cakes and vegies fool you, we were hard at work


Thank you, Anya, for a great morning.
So what are your embroidery get-togethers like?
Happy stitching!

SaveSaveSaveSaveSaveSaveSaveSaveSave
December 02, 2016 by Tamar Nahir

From pencil to thread: how an idea turns into an embroidery kit

It’s always fun to get a new kit started. At any given time I have six or seven illustrations lying around, just waiting to become an embroidery pattern. But lately I’ve been feeling like making something brand new. I started to sketch specifically for patterns, with the good old fashioned pencil and paper. Sometimes the illustration is so crisp in my mind, that I sketch it directly onto the fabric.


These winter patterns started off as sketches in my notebook, on a paper the size of the intended kit, and from there straight on two a finished illustration, drawn directly onto the fabric.

When it comes time to test-stitch, naturally some elements come off while others are added, and the pattern takes on a life of its own.


I really love photographing the end result. Finding elements that best compliment the piece is like a scavenger hunt!


Come celebrate winter with a special 20% off on all patterns, and check out these festive kits, all packed and ready to be shipped.

And don’t forget to follow on fb and Instagram and post your finished works :)

Happy stitching!
Tamar


SaveSaveSaveSaveSaveSave
November 23, 2016 by Tamar Nahir

Embroidery: Taking Your First Steps

Embroidery: Taking Your First Steps
Embroidery is a chance for a bit of creative quality time with the one that matters most – yourself. 
Start by finding a well-lit working area. Natural light is always best, but electrical lighting will do just as well.


I never tried embroidery but I’d like to give it a try. Could I?
My embroidery kits follow a printed stencil and are therefore easy to embroider. The stitches follow the drawn-out lines in simple, easy-to-learn techniques. Remember – the process is no less important than the end result. The more you stitch, the more skilled and precise you’ll get.

How do I choose my first kit?
The more complex the print, the more skill (and patience!) you’ll need to complete the kit.
I suggest you start with the medium sized kits (8.5x8.5"): Spring Flowers, Happy Little Fairy,
and also large sized kits (12x12"): Winter Girl Hugs Her CatBlue Deer, Bambi Girl.
These kits can suit craft lovers as young as 9 or 10 years old.


Should I use the entire thread?
No. The kits come with DMC mouliné threads which are comprised of 6 strands. In order to maintain a precise and gentle work, I recommend splitting the thread and using two strands at a time.


Do I have to use a hoop?
The hoop is a tool; it can help with certain techniques, but some stitches are more easily done without it. It’s a matter of personal taste, trial and error.

How do I know which stitch/technique to use?
Each kit comes with a booklet. On the back you will find the stitches used in that specific kit. Inside the booklet is a key marking each technique: a little loop drawing symbolizes a Lazy Daisy stitch, outlines are usually marked as back stitch, etc.

Why do the prints in some kits extend beyond the perimeter of the hoop?
Some prints interact with the square format of the fabric rather than that of the hoop. Your finished piece can be framed in a square frame, or be made into a bag or pillow. You can choose to embroider only the portion that fits inside the hoop, and forgo the rest of the print.


How can I incorporate fabric into my embroidery?
An addition of fabric makes your piece more elaborate, makes it stand out. Use tracing paper (or baking paper) to trace the outline of the section you want to “dress up” in fabric – a skirt, hair bonnet, etc. Cut out the sample and place on the desired fabric, and cut accordingly. You can sew the fabric onto your embroidery piece, or use fabric glue.

How can I hide the access fabric extending beyond the hoop?
You can always use the square format of the print and frame your finished piece in a square frame, make it into a pillow, or any other crafty idea you might come up with. If you do want to hang it in a hoop, be sure to stretch the fabric tightly. You may add some fabric glue (such as Gutterman) to the interior part of the external hoop, then sew together theedges of the fabric so that they won’t show. Only then can you choose to cut away the access fabric. Remember: you cannot re-stretch your fabric after cutting.

Got any more questions? I’m always happy to help.
Share your finished pieces with me via email or on facebook —I’d love to see them, and I’m always happy to help out with tips and tricks.


Happy stitching!
Tamar

SaveSaveSaveSaveSaveSaveSaveSaveSaveSave
November 14, 2016 by Tamar Nahir